렌티큘러 원리2
After posting some of the TMNT lenticular prints, I’ve had a few requests to share my (limited) knowledge. These were my first foray into this sort of printing and I owe almost all of what I know to Gifpop! as they were a great resource.
So. Let’s get into it.
1: The Frames

To simplify things, I’m breaking down the five frames of the animation into colour-coordinated blocks. The flip was achieved with just these segments. I’m not going to spend much time on the illustrations themselves as this is focusing on the printing process and file setup.
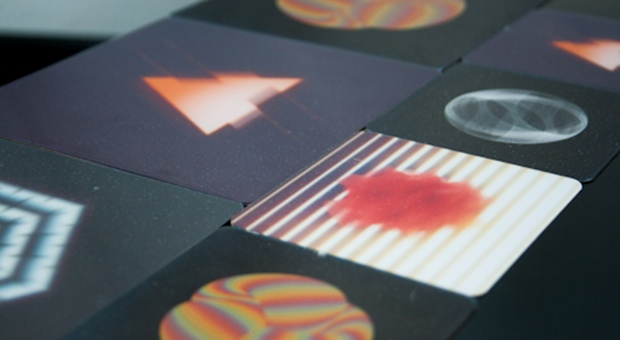
2: The Principles

While most lenticular printers explain this a lot better, here’s the basic principle behind the magic: as the print tilts your eye see a different frame. The brain fills in the gaps between each frame and motion is implied. Sometimes it’s a left-to-right tilt but for my prints they animate top-to-bottom. If you tilt the print down, it moves from 1 to 5. Tilting the frame up moves from 5 to 1. This back and forth is what creates the animation.
3: Frame Sequencing

The magic to the animation is that there are actually more than 5 pictures in the print. I think each printer is different, but Gifpop! has 10 frames in their prints. What this means is you’re actually seeing two frames of each picture before moving on to the next. The result is an even animation that looks like this:

4: The Problem
Of course you can move the print at your own pace to adjust the speed of the animation, but there was a problem with this setup.

With lenticular prints, if you go past frame 5 (green), you start to see frame 1 (orange) again. This is fine for looping animations but what was happening was the animation would suddenly jump from one side to the other. I needed to sort out a way to give more pause to the start and end of the animation so the viewer would avoid crossing the dotted line.
5: The Solution
What I ended up doing was controlling the sequence of frames a little more. Instead of an even distribution of the frames, I weighted the first and last segment a little heavier.

I still had the same ten frames to work with, but by only giving one frame to numbers 2 and 4, it allowed the first and last frame to appear a little longer.

Again, the image will still loop if you tilt it too far, but the extra frame at the start and the finish means you don’t have to be as precise with the action.
The resulting animation looks a little more like this:

It’s such a small difference but it plays into the laws of physics. I’m not an animator but the bouncing ball seems to be one of the first lessons you learn. This sequence of frames kinda acts like that now: slow start (3 frames), quick progression to the top (1 frame), short pause while gravity takes hold (2 frames) and then the arc finishes in reverse (1 frame then 2 frames). Basically, this is more natural than the even sequence.
6: Conclusion
Everyone is going to have a different experience and talk to your printer to get a feel for what the output is. Working with the individual frames opened up such a different experience and the results reflect that!
Again, it’s a minor tweak, but knowing the number of frames you have to work with can change the animation of a lenticular print from this:

and this:

If you have any questions about all of this, feel free to write (email is best and can be found on my site) and if you want to see the real-life results of what I’ve been going on about, all four turtles are available in my shop!